This is my first tutorial. Please go easy on me.
My son is in a Early Head Start classroom that serves children 6 weeks to 3 years. He has 3 awesome teachers. His teacher has made several photo books for the kids this year: each of kid in a different hat, the cars they come to school in, etc. I decided I wanted to make one for them, too. Then I thought it would make a great tutorial for the one other crafter who reads my blog.
Materials:
- digital photos of single, or mostly one, color items
- colored printer paper
- adhesive
- laminator, I bought it just for this project!
- hole punch, single or 3-hole
- binder rings
- collage making software, I used Shape Collage, but you could do it in Photoshop or even a word processor
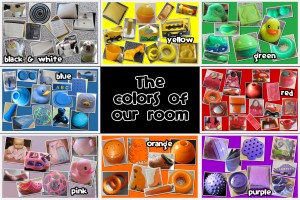
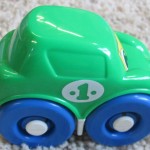
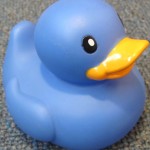
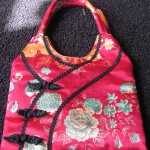
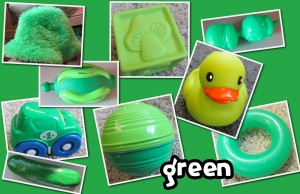
I took pictures of items all over my son’s classroom. Toys, furniture, bags…
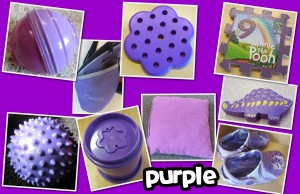
Then I cropped the pictures, in Photoshop, down to just the object size, but left the background. **They are only squares here because they are thumbnail images.**
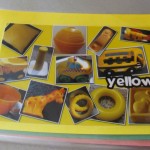
Next I added them by color to Shape College and played around until I liked it. Shape Collage was really easy to figure out how to use and once I paid for registration I could export .psd files that I could play with in PhotoShop. I was able to move, rotate, and resize the pictures in the collage. I could also add the color name in Photoshop. I chose a fun, but easy to read font and added a black stroke. **In PhotoShop Elements you must add a style (drop shadow, outer glow, etc…) and then turn it off and turn on stroke.**
When I was done editing them I saved them as photo size jpgs and printed them through my favorite big box store.
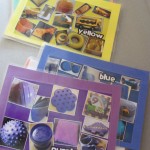
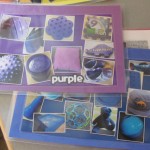
I decided I wanted the book to be bigger than a photo. The laminating sleeves I bought fit 5″ x 7″ paper so I trimmed colored paper to that size and used adhesive tabs to glue the pictures on. **I left a little more room at the top for hole punching.**
Then I got to bust out my new laminator. It was pretty cool. I centered the pages in the laminating sleeve and sent it through the machine. It came out really hot, but was stiff and sealed just right.
I punched 2 holes in the top and then stuck binder rings though them. And then didn’t take any pictures of the book.
So far, the kids are fighting over it, so I am glad I printed a second copy of the pictures.
Lessons learned:
- tell people what you are doing so they don’t think you are taking creepy pictures of the kids
- objects don’t always photograph in their true color
- make your shape collage 4″ by 6″ not 5.5″ x 8.5″ so the sides don’t get cut off when you print the pictures (I started with a different idea)
- toddlers are very concrete -they expect books to open on the left, not the top, on the other hand, this shows they are learning concepts of print
- kids love books about things they see every day
Pingback: BIG little book | Lady in a Small Town
I was trying to pull up my website, mistyped and your fun post came up. I love what you created! At first I though you may be a Heritage Makers Consultant. How fun! I have three little ones (4,2 & 1) and am always looking for fun ideas to make for them. Oh, you may want to check http://www.PhotoBookLady.com and see what things you can create with your photos and have published in projects that last forever (yes a sales pitch, After seeing your work, I couldn’t resist because I think you’d love it). Feel free to pass on the website to whomever you wish!